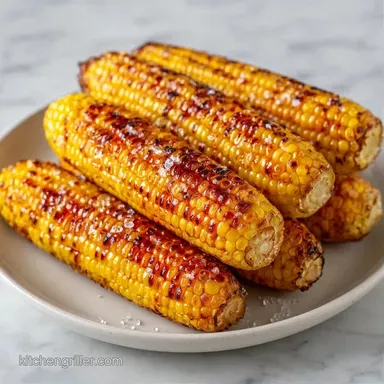
Best Basic Grilled Corn: Smoky and Charred
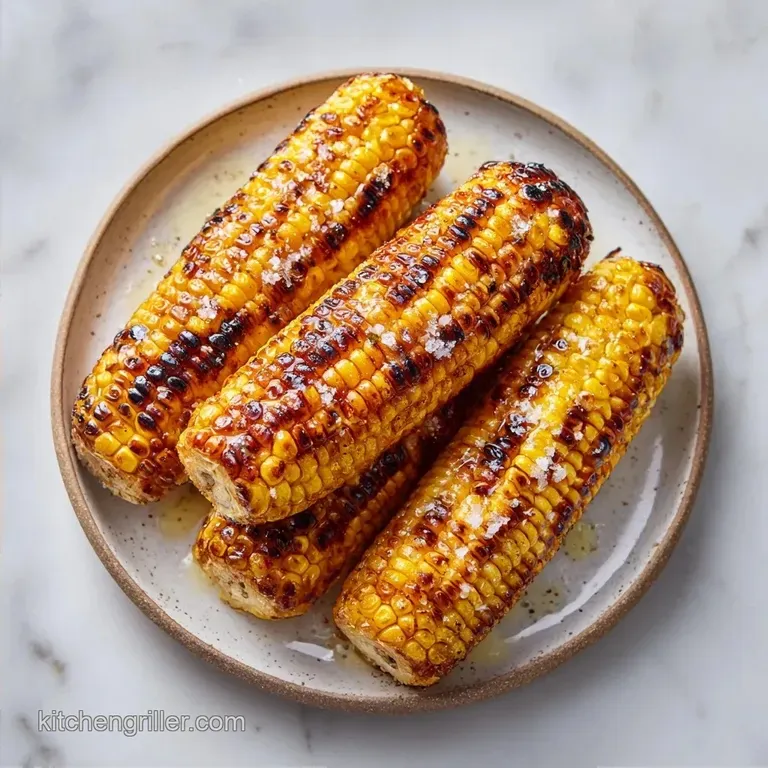
- Time: 5 min active + 15 min grilling
- Flavor/Texture Hook: Charred, smoky, and velvety butter finish
- Perfect for: Fast weeknight BBQs or summer parties
- Best Basic Grilled Corn Guide
- Why This Simple Method Works
- Ingredient Deep Dive
- Shopping List and Swaps
- Essential Gear List
- Steps for Perfect Corn
- Fixing Common Corn Issues
- Troubleshooting Common Issues
- Flavor Variations and Twists
- Storage and Waste Tips
- What to Serve Alongside
- Recipe FAQs
- 📝 Recipe Card
Best Basic Grilled Corn Guide
Ever wonder why some grilled corn tastes like it was just steamed in a bag, while other ears have those gorgeous, blackened pops of flavor? I used to be the person who left the husks on for an hour, thinking I was doing it "the right way." All I got was pale, soggy corn that lacked any real character.
Then I tried stripping the husks and hitting the grates directly, and the difference was instant.
The smell of corn sugars caramelizing over an open flame is a total mood. There is something about that specific sizzle when the butter hits a hot ear of corn that just screams summer.
It is a fast process, but if you time it right, you get that perfect contrast between the juicy interior and the crisp, charred exterior.
You can expect this recipe to be the fastest way to get a high impact side dish on the table. We aren't doing anything fancy here, just using heat and fat to bring out the natural sweetness of the corn. Let's crack on with the details.
Why This Simple Method Works
- Sugar Caramelization
- High heat triggers the Maillard reaction, turning natural starches into toasted, sweet sugars.
- Direct Heat Transfer
- Removing the husks allows the fire to hit the kernels directly, creating a smoky crust.
- Residual Heat
- A short rest period lets the internal moisture redistribute, preventing the kernels from bursting too aggressively.
- Fat Emulsification
- Rolling hot corn in butter allows the fat to penetrate the charred gaps, locking in the salt.
| Method | Time | Texture | Best For |
|---|---|---|---|
| Direct Grill | 15 mins | Charred & Popping | Bold, smoky flavor |
| In Husk | 30 mins | Steamed & Tender | Subtle, sweet taste |
| In Foil | 20 mins | Soft & Buttery | Low mess cooking |
Ingredient Deep Dive
| Ingredient | Science Role | Pro Secret |
|---|---|---|
| Sweet Corn | Primary Starch | Buy corn with bright green husks and damp tassels |
| Unsalted Butter | Fat/Carrier | Use softened butter for an even, velvety coat |
| Kosher Salt | Flavor Enhancer | Use coarse salt for a slight crunch and better adhesion |
Shopping List and Swaps
- 8 ears of corn, husks and silk removed Why this? Direct contact with heat creates the char
- 4 tbsp unsalted butter, softened Why this? Fat carries the salt and adds richness
- 1 tsp kosher salt Why this? Large grains don't dissolve instantly into the butter
| Original Ingredient | Substitute | Why It Works |
|---|---|---|
| Unsalted Butter | Salted Butter | Same fat content. Note: Reduce added salt by half |
| Unsalted Butter | Olive Oil | High smoke point. Note: Loses the creamy dairy taste |
| Kosher Salt | Sea Salt | Similar mineral profile. Note: Use less if using fine table salt |
Right then, keep it simple. Don't bother buying expensive organic corn if the local farmers' market stuff looks fresher. The secret is in the freshness of the cob, not the price tag.
Essential Gear List
You don't need a professional setup for this, just a few basics. A gas grill is my go to for speed, but charcoal works if you have the time.
- Grill (Gas or Charcoal)
- Long handled tongs (to avoid burns)
- Pastry brush or a clean towel for buttering
- Platter for resting
If you decide to try the foil method for a different batch, you can use regular stuff - don't waste money on the heavy duty grilling foil. The standard rolls work just fine for wrapping corn.
Steps for Perfect Corn
- Preheat your grill to medium high heat (approx. 400°F/200°C). Note: This ensures the kernels sear instead of steaming
- Lightly oil the grill grates using a paper towel dipped in oil. Note: This prevents the corn from sticking and tearing
- Place the shucked corn directly on the grates.
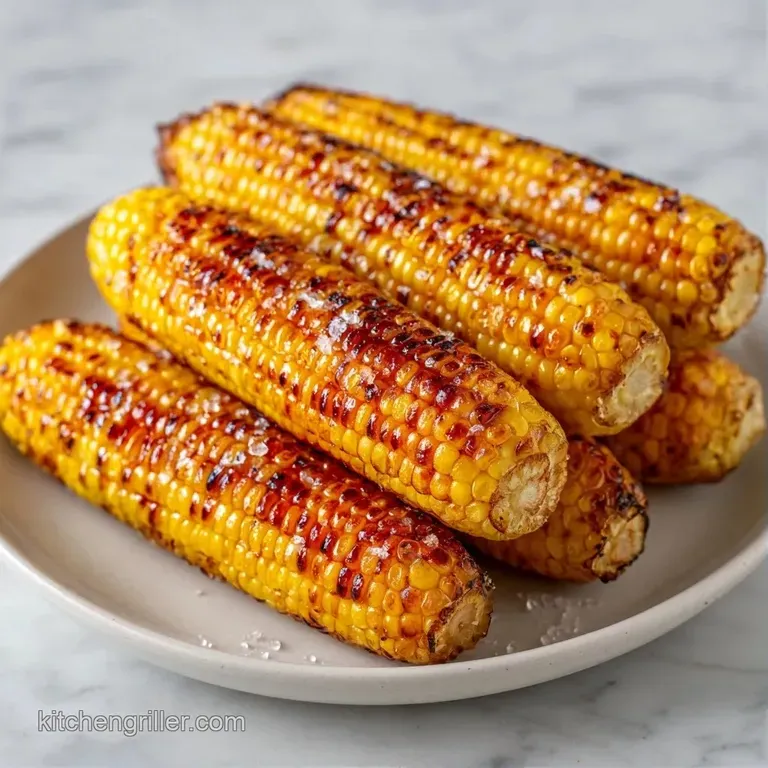
- Grill for 12-15 minutes until kernels are deep golden brown with scattered charred spots.
- Rotate the ears every 3-4 minutes. Note: This prevents one side from burning while the other stays raw
- Remove the corn from the grill.
- Let the corn rest for 2 minutes. Checkpoint: The corn should feel firm and hot to the touch.
- While still hot, roll each ear in the softened butter. Checkpoint: Butter should melt instantly upon contact.
- Immediately sprinkle with kosher salt. Checkpoint: Salt should stick to the melted butter without falling off.
Chef's Tip: Freeze your butter for 10 minutes before softening it if it's too melty. This gives you a thicker, creamier coating. Also, try adding a pinch of smoked paprika to the butter for a deeper color.
Fixing Common Corn Issues
Troubleshooting Common Issues
| Issue | Solution |
|---|---|
| Why Your Corn Is Burnt But Raw | If the fire is too high, the outside chars in seconds while the inside stays cold. This usually happens on gas grills with "hot spots. |
| Why The Corn Is Pale | Pale corn happens when the grill isn't hot enough or the corn is overcrowded. Make sure there is a gap between each ear so the heat can circulate. |
| Why Butter Slides Off | If the corn cools down too much before buttering, the fat won't bond to the kernels. Butter it within 30 seconds of removing it from the grill. |
Common Mistakes Checklist
- ✓ Forgot to oil the grates, causing kernels to rip off
- ✓ Left corn on too long, making it chewy instead of juicy
- ✓ Buttered too late, resulting in a greasy rather than velvety coat
- ✓ Ignored the 2 minute rest, losing some internal heat
Flavor Variations and Twists
Once you've got the Best Basic Grilled Corn down, you can play with the toppings. I usually keep a few options on the table so people can customize their own.
Decision Shortcut:
- If you want a kick, do Chili Lime (squeeze lime and add tajin).
- If you want richness, do Garlic Parm (mix grated parmesan into the butter).
- If you want something fresh, do Herb Butter (add chopped parsley and chives).
You can also serve this alongside a grilled vegetables recipe to make a full plant based feast. Just keep the heat consistent across the grate.
For those avoiding dairy, coconut oil is a great substitute for butter. It has a similar fat content but adds a subtle tropical note that works surprisingly well with the char.
Storage and Waste Tips
If you have leftovers, store the grilled corn in an airtight container in the fridge for up to 3 days. To reheat, don't use the microwave if you can help it, as it makes the kernels rubbery. Instead, toss them back on a hot pan for 2-3 minutes.
For freezing, cut the kernels off the cob after grilling and freeze them in a single layer on a tray before bagging. They'll stay good for 3 months.
Zero Waste Hack: Don't throw away the naked cobs! Throw them into a pot with onion scraps, carrot peels, and celery ends. Boil them for an hour to make a rich, sweet corn stock that is amazing for chowders or risottos.
The Best Basic Grilled Corn is great for eating, but the cobs are the secret to great soup.
What to Serve Alongside
This dish is a sidekick, so it needs a strong lead. Because it's sweet and buttery, it pairs best with proteins that have a salty or acidic profile.
I love serving this with a Traeger ribs method because the tang of the BBQ sauce cuts through the richness of the corn butter. If you're doing a lighter lunch, a grilled chicken breast with a lemon caper sauce is a winner.
The key is balance. Since the Best Basic Grilled Corn is quite "heavy" on the palate due to the butter, add something crisp and acidic to the plate, like a vinegar based coleslaw or a sliced cucumber salad. This keeps the meal feeling fresh rather than weighed down.
Recipe FAQs
How to grill corn on the cob?
Preheat your grill to 400°F (200°C) and place shucked corn directly on the grates. Grill for 12-15 minutes, rotating the ears every 3-4 minutes until golden brown with charred spots.
Is it true I should boil corn before grilling?
No, this is a common misconception. Grilling shucked corn directly on the heat creates a superior sear and prevents the kernels from becoming mushy.
Should I butter corn before grilling?
No, butter after. Applying butter too early can cause flare-ups; instead, roll the corn in softened butter and salt immediately after removing it from the grill.
Is it better to grill corn in the husk or foil?
Shucked is best for flavor. Grilling without the husk or foil allows the kernels to char directly, which is essential for the signature grilled taste.
How to grill corn without a husk?
Remove the husk and silk entirely before cooking. Place the naked ears directly on the hot grates to achieve deep golden-brown kernels.
How to grill corn on a gas grill?
Heat the grates, then place corn over medium-high heat. Rotate the ears every few minutes to avoid gas grill hot spots that can burn the exterior while leaving the inside raw.
What should I serve with grilled corn?
Pair it with other seasonal vegetables. If you enjoyed the high-heat searing technique used here, see how the same principle works in these grilled veggies.
Best Basic Grilled Corn in 22 Minutes