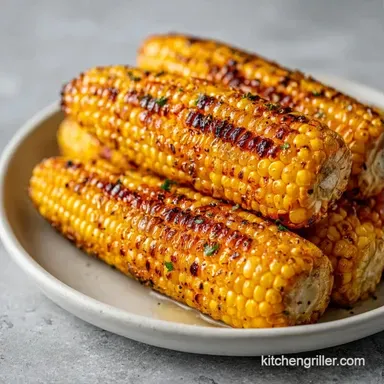
Grilled Corn on the Cob: Smoky and Charred
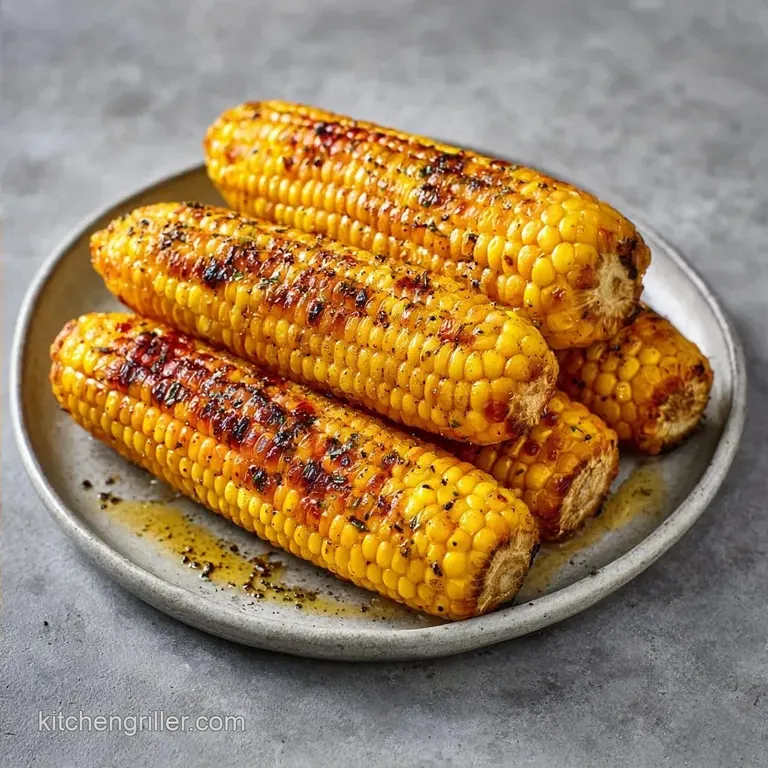
- Time: 5 min active + 15 min cooking
- Flavor/Texture Hook: Sizzling char with a snappy, juicy interior
- Perfect for: Vibrant urban dinner parties or a fresh side for grilled meats
The smell of charred corn hitting a hot grate is honestly the best part of any summer meal. But let's be real: most of us have dealt with that annoying issue where the corn is either pale and tastes like it was steamed in a plastic bag, or the outside is a blackened mess while the inside is still raw.
It's a frustrating gap.
I used to think the secret was wrapping everything in foil, but that just traps the moisture and kills the char. We want that over high heat sear that turns the natural sugars into something rich and nutty. The trick isn't in the wrapping, it's in the prep.
Once you get the surface dry and the oil hit just right, Grilled Corn on the Cob becomes the easiest win in your kitchen. No more guessing if it's done or dealing with rubbery kernels. We're going for a snap that you can hear from across the table.
How to Actually Nail This
Getting the heat right is where most people trip up. If your grill is too cold, the corn just sits there and dries out before it ever gets a color. If it's screaming hot, you'll burn the sugars on the outside in two minutes, leaving you with raw corn in the center.
Medium high, around 200°C, is the sweet spot.
Another thing I've learned the hard way is the moisture problem. If you throw corn on the grill while it's still wet from washing, the grill spends all its energy evaporating that water instead of searing the vegetable. That's why I'm obsessed with the paper towel step.
It seems small, but it's the difference between a steamed cob and a charred one.
Finally, don't forget the rest. Just like a steak, corn needs a few minutes to let the internal steam settle. If you dive in immediately, the heat is concentrated on the outside. A three minute break lets that heat migrate inward, making every bite consistent.
Why the Char Happens
- Surface Dryness
- Removing water allows the oil to bond and the heat to hit the sugars immediately.
- Fat Conduction
- The olive oil acts as a bridge, transferring heat more efficiently than air alone.
- Sugar Caramelization
- High heat breaks down the corn's natural sugars, creating those dark, nutty spots.
- Steam Redistribution
- Resting allows moisture to move from the center to the edges, preventing a dry core.
| Method | Time | Texture | Best For |
|---|---|---|---|
| Grill | 15 mins | Charred & Snappy | Maximum Flavor |
| Oven | 25 mins | Roasted & Tender | Large Crowds |
| Stovetop | 12 mins | Sautéed & Soft | Small Batches |
Ingredient Deep Dive
When it comes to the components, we're keeping it lean. We don't need a dozen spices to mask the flavor of fresh corn. The goal is to highlight the sweetness of the produce while adding a hit of salt and smoke.
| Ingredient | Science Role | Pro Secret |
|---|---|---|
| Fresh Corn | Sugar Source | Buy ears with bright green husks; avoid yellowing ends |
| Olive Oil | Heat Medium | Use extra virgin for a slight peppery undertone |
| Kosher Salt | Flavor Bridge | Coarser grains stick better to the oil than table salt |
| Black Pepper | Contrast | Use freshly cracked peppercorns for a sharp, woody bite |
Equipment Needed
You don't need a professional setup for this, but a few things make it faster. A sturdy grill or a cast iron grill pan works for those of us in urban apartments. I also highly recommend a silicone pastry brush. Trying to rub oil on with your hands is messy, and using a spoon leads to uneven patches.
If you're using a grill, make sure the grates are scrubbed clean. Old residue can stick to the corn and create a bitter taste that ruins the sweetness. A quick scrub with a wire brush or a halved onion is all you need.
Bringing It Together
Right then, let's get into the actual process. Make sure your corn is shucked and the silk is gone before you start.
- Pat the corn dry with a paper towel. Note: This prevents steaming and ensures the oil sticks.
- Whisk together the olive oil, salt, and pepper in a small bowl.
- Brush each ear of corn evenly with the oil mixture. Note: Get the oil into the crevices between kernels.
- Preheat your grill to 200°C.
- Place the corn directly on the grates.
- Grill for 12-15 minutes. Rotate the ears a quarter turn every 3-4 minutes until you see mahogany spots.
- Remove the corn from the heat.
- Let the corn rest for 2-3 minutes. Note: This lets the internal steam redistribute.
Chef's Tip: If you're doing this for a crowd, brush the corn with oil and salt, then store them in a container for 2 hours before grilling. The salt starts to break down the cell walls, making the corn even juicier.
What Can Go Wrong (and How to Fix It)
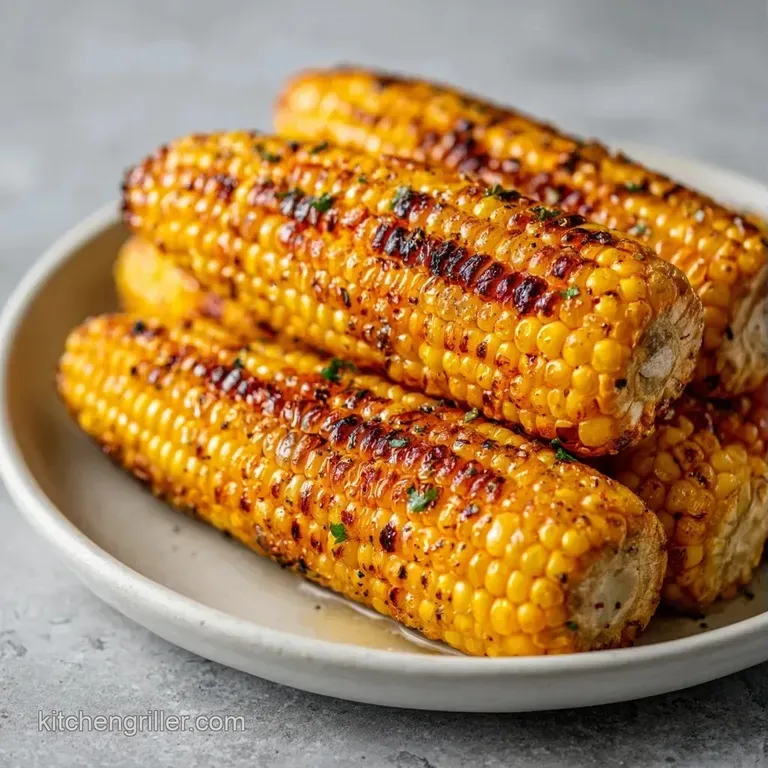
Even with a simple recipe, things can go sideways. Most issues stem from temperature control or moisture.
Why Your Corn is Pale
If your corn looks boiled rather than grilled, your heat was too low or the corn was too wet. When the grill isn't hot enough, the water inside the corn leaks out and steams the kernels. Next time, make sure the grill is sizzling before the corn hits the grate.
Why Kernels Burn Quickly
Black, carbonized kernels usually mean your heat is too high or you're using too much oil. Oil can flare up and create "hot spots" that incinerate the sugar. Keep the heat at a steady medium high and rotate the corn frequently.
| Problem | Root Cause | Solution |
|---|---|---|
| Rubbery Texture | Overcooked | Pull off heat as soon as mahogany spots appear |
| Uneven Char | Poor Rotation | Turn the cob every 3 minutes |
| Bland Taste | Under salting | Brush with a salted butter glaze after grilling |
Common Mistakes Checklist
- ✓ Using wet corn (Pat it dry first!)
- ✓ Forgetting to rotate (Turn every 3-4 mins)
- ✓ Skipping the rest period (Wait 3 mins)
- ✓ Using low heat (Stick to 200°C)
- ✓ Over brushing oil (Avoid flare ups)
Make It Your Own
Once you've got the base down, you can take this in a few directions. If you want a zesty Mexican Grilled Corn on the Cob, just slather the finished ears in a mix of mayo, lime juice, and cotija cheese. It's a total classic for a reason.
For those who want something different, try a garlic herb punch. Mix melted butter with minced garlic and fresh parsley, then brush it on the second the corn comes off the grill. The residual heat will cook the garlic just enough to take the raw edge off.
If you're planning a bigger spread, this pairs beautifully with Grilled Vegetables for 4 recipe for a full plant based platter. Or, if you're going all out with a feast, these cobs are the ideal side for some Traeger 2-1-1 ribs.
Customizing the Flavor
- For a Vegan Swap: Use a vegan butter substitute or a drizzle of agave and lime for a sweet tart vibe.
- For Low Sodium: Replace the salt with smoked paprika to keep that "fire" flavor without the sodium.
- From Frozen: If you're using Grilled Corn on the Cob from frozen, thaw it completely and pat it extremely dry, or it will steam on the grill.
Scaling the Batch
When I'm cooking for a small group, 4 ears is easy. But for a party of 16, you can't just multiply everything linearly.
Scaling Down (2 ears): Use half the oil and salt. You can likely fit these in a small cast iron skillet on the stovetop if you don't want to fire up the big grill. Reduce your total cook time by about 2 minutes since there's more airflow.
Scaling Up (12-16 ears): Don't double the salt; increase it by about 1.5x. Too much salt can draw out too much moisture when cooking in large batches. Work in two batches to avoid crowding the grill, which drops the temperature and leads to that pale, steamed look we're avoiding.
Truth About the Husk
You'll see a lot of people insisting on Grilled Corn on the Cob in Husk or Grilled Corn on the Cob in Foil. Here is the truth: those methods are for steaming, not grilling.
The husk acts as a natural steamer. It's great if you want tender, juicy corn without any char. Foil does the same thing but adds the risk of the corn getting "mushy." If you want that vibrant, smoky flavor, go with Grilled Corn on the Cob No Husk. The direct contact with the metal is where the magic happens.
Storage Guidelines
Fridge: Keep leftover corn in an airtight container for 3-4 days. To reheat, don't use the microwave, it makes the kernels rubbery. Pop them back on a hot skillet for 3 minutes per side.
Freezer: You can freeze grilled corn for up to 2 months. Just wrap each cob tightly in aluminum foil, not an ingredient, but you’ll need this! We don’t bother buying the heavy duty/grilling foil. Just the regular stuff works for storage.
Zero Waste: Don't toss the cobs after you've eaten the kernels. Throw those charred cobs into a pot with water, an onion, and a carrot to make a deep, smoky corn stock. It's brilliant for thickening soups or making a base for a risotto.
Serving Suggestions
Serve this immediately while the kernels are still sizzling. For a fresh urban presentation, slice the kernels off the cob and toss them into a bowl with cherry tomatoes, feta, and a splash of balsamic glaze. It turns a simple side into a vibrant salad.
If you're serving it whole, provide a few different dipping salts or a bowl of whipped salted butter on the side. This lets guests customize their level of richness. Because the corn is already charred and salty, a simple squeeze of fresh lime right before eating wakes up all the flavors.
Recipe FAQs
How long does it take to grill corn on the cob?
12 to 15 minutes. Rotate the ears every 3 to 4 minutes until you see charred mahogany spots and deep golden-yellow kernels.
Do I need to boil corn on the cob before grilling?
No, this is a common misconception. Boiling adds unnecessary moisture and prevents the kernels from achieving a proper char on the grill.
Is it better to grill corn in foil or without?
Without foil. Grilling directly on the grates allows for caramelization and a smoky flavor that steaming in foil cannot replicate.
How to grill corn on the cob without the husk?
Coat the corn in olive oil, salt, and pepper. Place the ears directly on a medium-high grill (400°F) and rotate every few minutes for 12 to 15 minutes.
Can diabetics eat fresh corn on the cob?
Yes, in moderation. Fresh corn is a whole grain and a source of fiber, though portion control is key to managing blood glucose levels.
How to grill corn on a gas grill?
Preheat the grates to 400°F. Place the oiled corn directly over the burners and rotate them every 3 to 4 minutes until charred.
What is the best way to cook corn on the cob on the grill?
Grill directly on the grates at medium-high heat. If you enjoyed mastering high-heat charring here, see how the same principle works in these grilled veggies.
Grilled Corn on the Cob in 20 Minutes