Gut Healing Bone Broth: Slow-Cooked and Silky
- Time:15 minutes active + 24 hours simmering = Total 24 hours 15 mins
- Flavor/Texture Hook: Velvety, deep mahogany richness with a savory, clean finish
- Perfect for: Wellness resets, winter mornings, or as a nutrient dense base for other meals
- That Roasted Aroma: My Sunday Ritual for a Gut Healing Diet Recipe with Bone
- The Little Secrets that Make the Broth Velvety
- The Component Analysis: Understanding Your Elements
- The Component List: Picking Your Heavy Hitters
- The Gear: From Cast Iron to Slow Cookers
- Step-by-Step: Transforming Bones into Liquid Gold
- Fixing the Fails: When Your Broth Isn't Quite Right
- Troubleshooting Common Issues
- Twists and Turns: Customizing Your Nutrient Boost
- Keeping it Fresh: Storage and Zero Waste Hacks
- Serving Style: How to Enjoy Your Healing Brew
- Recipe FAQs
- 📝 Recipe Card
That Roasted Aroma: My Sunday Ritual for a Gut Healing Diet Recipe with Bone
The smell hits you before you even enter the kitchen that deep, nutty, almost caramelized scent of roasting marrow. It's the kind of aroma that makes the whole house feel safe and warm, especially on a rainy Sunday morning when the windows are fogged up.
I remember the first time I tried this; I was treating myself to a "reset" weekend, and the sizzle of the bones in the oven felt like the start of something genuinely restorative.
Discover the perfect gut healing diet recipe with bone broth to soothe your digestion. There's something incredibly meditative about the process. You aren't rushing for a 30 minute meal; you're letting time do the heavy lifting.
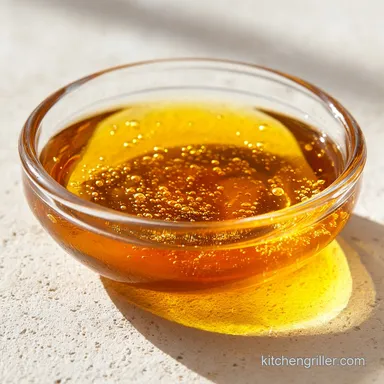
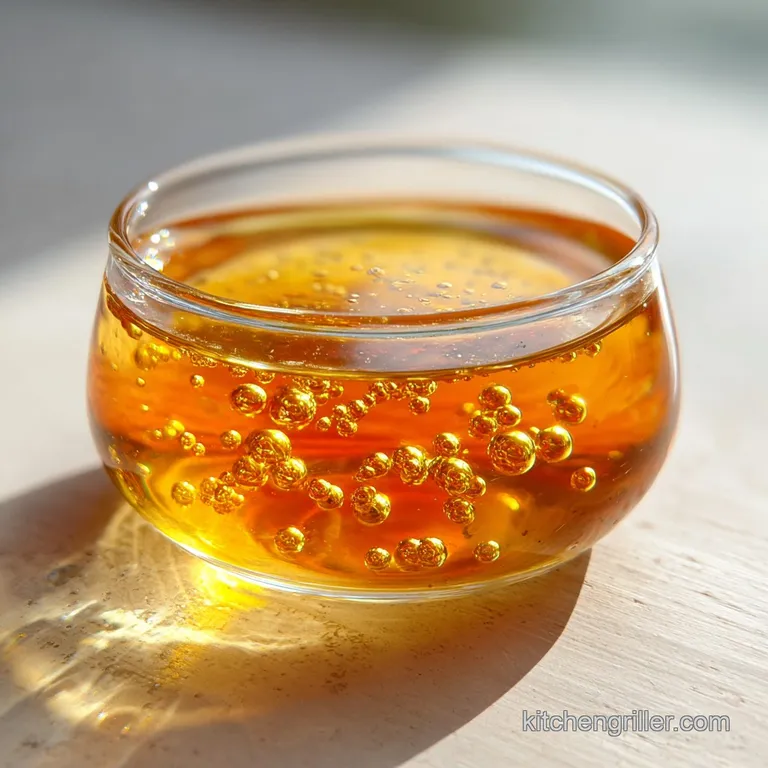
When the liquid finally transforms from a watery tea into a velvety, translucent gold that wobbles like jelly when chilled, you know you've done it right. It's not just a drink; it's a ritual.
This recipe is designed for those moments when you want to prioritize your health without sacrificing a shred of flavor. Whether you're making a big batch to last the month or prepping a special nourishing pot for a friend who's feeling under the weather, this method ensures you get every single bit of goodness out of those bones.
Trust me, once you taste the difference a proper roast makes, you'll never go back to the "throw it all in the pot" method.
The Little Secrets that Make the Broth Velvety
Right then, let's talk about why this actually works. We aren't just boiling water; we're performing a slow extraction of minerals and proteins.
- Acidic Activation: Apple cider vinegar helps break down the hard bone matrix, pulling collagen and minerals into the water.
- Maillard Depth: Roasting the bones at high heat creates complex flavor compounds that give the broth its rich, dark color.
- Low Temp Breakdown: A bare simmer prevents the proteins from toughening and keeps the liquid clear rather than cloudy.
- Collagen Conversion: The 24 hour window allows the tough cartilage to melt into gelatin, creating that signature silky mouthfeel.
Since some of us prefer the set it and forget it vibe while others love the control of a stove, I've mapped out the best way to handle the simmer.
| Method | Time | Texture | Best For |
|---|---|---|---|
| Slow Cooker | 24 hours | Silky and consistent | Hands off convenience |
| Stock Pot | 24 hours | Slightly more concentrated | Precision control |
| Instant Pot | 12 hours | Very clean, less depth | When you're in a rush |
It's worth noting that while the fast method works, the long simmer is where the real magic happens for gut health. If you're looking for other high protein options to pair with your wellness routine, you might enjoy a ribeye steak recipe for a filling, nutrient dense meal.
The Component Analysis: Understanding Your Elements
Before we get to the list, let's look at why these specific items are in the pot. It's not just about taste; it's about the function of each piece.
| Ingredient | Science Role | Pro Secret |
|---|---|---|
| Marrow Bones | Collagen Source | Look for "knuckle" bones for maximum gelatin |
| Apple Cider Vinegar | Mineral Extractor | Use raw, unfiltered ACV for the most enzymes |
| Carrots/Celery | Aromatic Base | Roast them with the bones for a deeper sweetness |
| Filtered Water | Pure Solvent | Avoid chlorine to keep the flavor clean |
The Component List: Picking Your Heavy Hitters
Get your ingredients ready. I highly recommend getting your bones from a local butcher they usually have the best marrow rich cuts that the supermarket ignores.
- 4 lbs beef marrow and knuckle bones Why this? Essential for the gelatinous texture and mineral content (Substitute: Chicken carcasses for a lighter, milder broth)
- 2 tbsp avocado oil Why this? High smoke point for the roast (Substitute: Ghee or refined coconut oil)
- 300g carrots, roughly chopped Why this? Adds natural sweetness (Substitute: Parsnips for an earthier tone)
- 100g celery, roughly chopped Why this? Provides a salty, herbal baseline (Substitute: Fennel for a subtle anise flavor)
- 150g yellow onion, quartered Why this? Essential aromatic depth (Substitute: Leeks for a softer taste)
- 20g garlic, smashed Why this? Adds a pungent, savory kick (Substitute: Shallots)
- 2 tbsp apple cider vinegar Why this? Pulls the nutrients out of the bone (Substitute: Lemon juice, though it's less potent)
- 15g whole black peppercorns Why this? Subtle heat and preservation (Substitute: White peppercorns for a cleaner look)
- 1g dried bay leaves Why this? Adds a floral, herbal top note (Substitute: Thyme sprigs)
- 1 gallon filtered water Why this? Prevents off flavors from tap water (Substitute: Spring water)
The Gear: From Cast Iron to Slow Cookers
You don't need a professional kitchen for this, but a few tools make the process much smoother. I prefer using a heavy roasting pan for the first stage because it distributes heat evenly.
For the simmering phase, a slow cooker is my go to because it maintains that "bare simmer" perfectly without me having to babysit the stove for a whole day. If you're using a pot, make sure it's a heavy bottomed stock pot (like a Le Creuset or a large stainless steel pot) to avoid scorching the bottom.
You'll also need a fine mesh strainer and some cheesecloth for the final filtration don't skip the cloth, or you'll end up with "bone dust" in your broth.
Step-by-step: Transforming Bones into Liquid Gold

Let's crack on. Follow these steps closely, and don't rush the roasting that's where the flavor lives.
- Preheat oven to 400°F (200°C). Toss your 4 lbs of beef bones in 2 tbsp avocado oil and spread them across a roasting pan. Note: Make sure they aren't crowded so they roast instead of steam.
- Roast bones for 30–45 minutes until they are a deep mahogany brown. Toss in the 300g carrots, 100g celery, and 150g yellow onion during the last 15 minutes of roasting.
- Transfer everything bones and roasted vegetables into your slow cooker or heavy stock pot.
- Stir in 2 tbsp apple cider vinegar, 15g peppercorns, and 1g bay leaves.
- Pour in 1 gallon filtered water until all ingredients are fully submerged. Note: Don't overfill, or you'll dilute the gelatin concentration.
- Set your slow cooker to 'Low' or maintain a bare simmer on the stove.
- Let it cook for 24 hours. You should see a few lazy bubbles breaking the surface, not a rolling boil.
- Remove the large chunks of vegetables and bones with a slotted spoon.
- Strain the remaining liquid through a fine mesh strainer lined with cheesecloth until the broth is clear and velvety.
Chef's Tip: If you have time, freeze your bones for 10 minutes before roasting. This dries the surface, allowing them to brown faster and more deeply without overcooking the marrow.
Fixing the Fails: When Your Broth Isn't Quite Right
Even with a simple recipe, things can go sideways. Usually, it's a temperature or timing issue.
Troubleshooting Common Issues
| Issue | Solution | ||||||
|---|---|---|---|---|---|---|---|
| Why Your Broth Isn't Gelatinous | If your broth stays watery when chilled, you likely didn't have enough collagen rich bones (knuckles/joints) or you didn't simmer long enough. The 24 hour mark is critical for that "jiggle." | ||||||
| Why the Broth Looks Cloudy | Cloudiness happens when you boil the broth too hard. A rolling boil emulsifies the fats into the water. Keep it at a bare simmer to ensure a translucent finish. | ||||||
| Why the Broth Tastes Bitter | This usually happens if the vegetables were burnt during the roasting phase. Ensure your carrots and onions only go in for the final 15 minutes. | Problem | Root Cause | Solution | --------- | -------- |
Twists and Turns: Customizing Your Nutrient Boost
Once you've nailed the base, you can play around with the flavor profiles. This is a great way to make the broth feel like a different meal every time.
For a more anti inflammatory kick, I love adding a teaspoon of fresh turmeric and a pinch of black pepper right before serving. If you want a more vibrant, urban twist, try adding a splash of coconut aminos for a salty, umami depth.
Some people like to add a bit of ginger for extra warmth, which is brilliant during flu season.
If you're using this as a base for a meal, it pairs beautifully with roasted root vegetables. I often use this broth to start my butternut squash garlic soup for an extra layer of richness.
Decision Shortcut for Customizing:
- If you want more "zing" → Add a squeeze of fresh lemon at the end.
- If you want a "savory bomb" → Add a tablespoon of miso paste to your serving bowl.
- If you want "anti inflammatory" → Stir in fresh grated ginger and turmeric.
Keeping it Fresh: Storage and Zero Waste Hacks
Since you're making a whole gallon, you won't drink it all at once. The best way to store this is in glass Mason jars. Leave about an inch of headspace at the top to allow for expansion in the freezer.
Storage Guidelines: - Fridge: Keeps for 5-7 days. - Freezer: Lasts up to 6 months.
For zero waste, don't just toss those roasted bones after straining. If they still have some marrow, you can roast them one more time at 450°F for 5 minutes and spread the marrow on toasted sourdough.
Also, any leftover roasted vegetable bits can be tossed into a compost bin or used to flavor a quick sauté for a side dish.
Serving Style: How to Enjoy Your Healing Brew
This isn't just for sipping from a mug (though that's the classic way). To make it feel like a real occasion, I like to serve it in a wide, shallow bowl.
Start with a base of sliced scallions and a few drops of toasted sesame oil. Pour the hot broth over the top and add a soft boiled egg or some shredded chicken. It transforms from a "health drink" into a sophisticated, comforting meal.
If you're serving it to guests, warm your bowls in the oven first this keeps the broth from cooling down too quickly, preserving that velvety texture.
For a little extra crunch, I love adding some toasted sesame seeds or a few curls of fresh cilantro on top. It adds a vibrant contrast to the deep, earthy tones of the beef. Right then, your gut healing ritual is complete!
Recipe FAQs
How to make bone broth to heal your gut?
Roast beef bones at 400°F for 30 45 minutes before simmering. Transfer the bones and roasted vegetables to a slow cooker with apple cider vinegar and filtered water, then simmer on low for 24 hours.
Can drinking bone broth heal your gut?
Yes, it supports the gut lining. The collagen and amino acids help seal the intestinal wall and reduce systemic inflammation.
How long does it take bone broth to heal your gut?
Results vary, but most notice improvements in 2 4 weeks. Drinking one cup daily consistently is the most effective approach for repair.
What is a bone broth diet for gut reset?
A nutrition protocol using bone broth as a primary nutrient source to reduce digestive stress. It typically involves replacing several meals with broth to allow the digestive tract to recover.
Why is my bone broth watery instead of gelatinous?
You likely used too few knuckle bones or simmered for less than 24 hours. Sufficient collagen from joints and a full day of simmering are required for the broth to jiggle when chilled.
Is it true I can just boil bones without roasting them first?
No, this is a common misconception. Roasting the bones until they are mahogany brown is essential for developing the rich color and deep flavor profile.
Can I use a slow cooker instead of a stock pot?
Yes, a slow cooker on low for 24 hours is ideal. If you enjoyed the hands off nature of this method, the same slow cooking logic applies to our stewed chicken.
Gut Healing Bone Broth