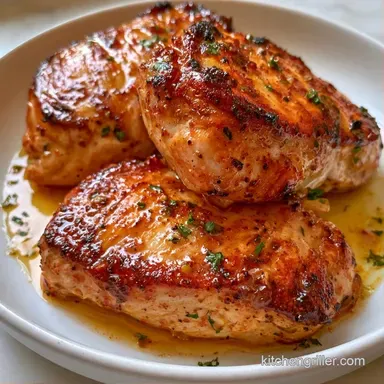
Skillet Chicken Thighs in 20 Minutes
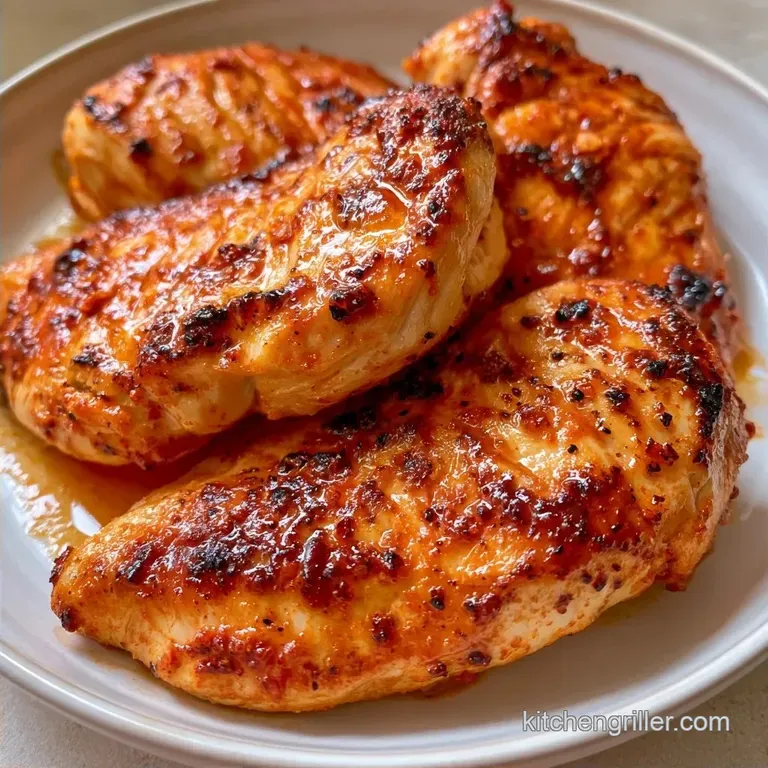
- Timing: 5 minutes prep and 15 minutes total cooking
- The Draw: A rich, browned crust with a savory butter glaze
- Perfect for: Quick evening meals or high-protein meal prepping
Easy Skillet Chicken Thighs
That loud, aggressive sizzle when meat hits a hot pan is the best sound in the kitchen. Have you ever wondered why home cooked chicken often looks pale and steamed, while the version at the bistro has that deep, dark crust? It usually comes down to moisture and heat management.
I used to just toss meat into a pan and hope for the best, but that usually led to chicken that stuck to the metal or stayed gray. These Skillet Chicken Thighs change that by focusing on a dry surface and a shimmering oil. It's a fast process that feels fancy but takes almost no effort.
You can expect a dish that hits the balance of a salty, spiced exterior and a tender, juicy center. Since we use a cast iron skillet, the heat stays consistent, ensuring every inch of the chicken browns evenly.
The Logic Behind the Sear
Surface Moisture: Patting the meat dry prevents steam from forming, which allows the surface to brown quickly.
Fat Ratios: Using avocado oil for the sear and butter for the finish provides a high smoke point first, then a rich flavor layer.
| Method | Time | Texture | Best For |
|---|---|---|---|
| Stovetop | 20 mins | Crispy skin, juicy core | Fast weeknights |
| Oven | 45 mins | Evenly cooked, softer | Large batches |
The reason this method works is that chicken thighs contain more fat than breasts, so they don't dry out under high heat. The butter basting at the end pushes that flavor deep into the meat.
Quick Timing and Stats
This recipe is built for speed. With only 5 minutes of prep, you spend most of your time just watching the crust develop. The total time of 25 minutes means you can go from a raw package of meat to a plated meal faster than most delivery apps.
The urban pace of life doesn't mean we have to eat bland food. Using a heavy bottomed pan ensures the heat is distributed, meaning you don't have to hover and move the meat constantly.
The Shopping List
For the protein, I use boneless skinless chicken thighs. They are more forgiving than breasts and hold onto the butter sauce much better. The smoked paprika adds a hint of wood fired flavor without needing a grill.
- Avocado Oil
- I use this because it doesn't smoke until it's very hot.
- Unsalted Butter
- This allows us to control the salt levels.
- Fresh Thyme
- Adds an earthy, herbal note that cuts through the fat.
| Original Ingredient | Substitute | Why It Works |
|---|---|---|
| Avocado Oil (2 tbsp) | Grapeseed Oil (2 tbsp) | High smoke point. Note: Neutral flavor |
| Fresh Thyme (2 sprigs) | Dried Thyme (1/2 tsp) | Similar flavor. Note: Less aromatic than fresh |
| Smoked Paprika (1 tsp) | Sweet Paprika (1 tsp) | Adds color. Note: Lacks the smoky depth |
If you're looking for something with a different profile, my honey garlic chicken is a great alternative for those who like a sweeter glaze.
Essential Kitchen Tools
A cast iron skillet is the ideal choice here. Because it retains heat more effectively than non-stick or stainless steel, it's perfect for developing that rich mahogany crust. A sturdy stainless steel pan can work as well, although you might need to use a little more oil.
A meat thermometer is also essential. It's the only foolproof way to guarantee the meat is safe and juicy, as guessing based on "feel" often results in overcooking.
Bringing It Together
Phase 1: Prep for Maximum Browning
- Use paper towels to dry the chicken thighs completely. Note: Excess moisture on the skin creates steam, which prevents a proper sear.
- Combine salt, pepper, paprika, and garlic powder in a small bowl, then rub the seasoning across both sides of the meat.
Phase 2: The High Heat Sear
- Set a skillet to medium high heat and pour in the avocado oil. Wait for the oil to shimmer and just start to smoke.
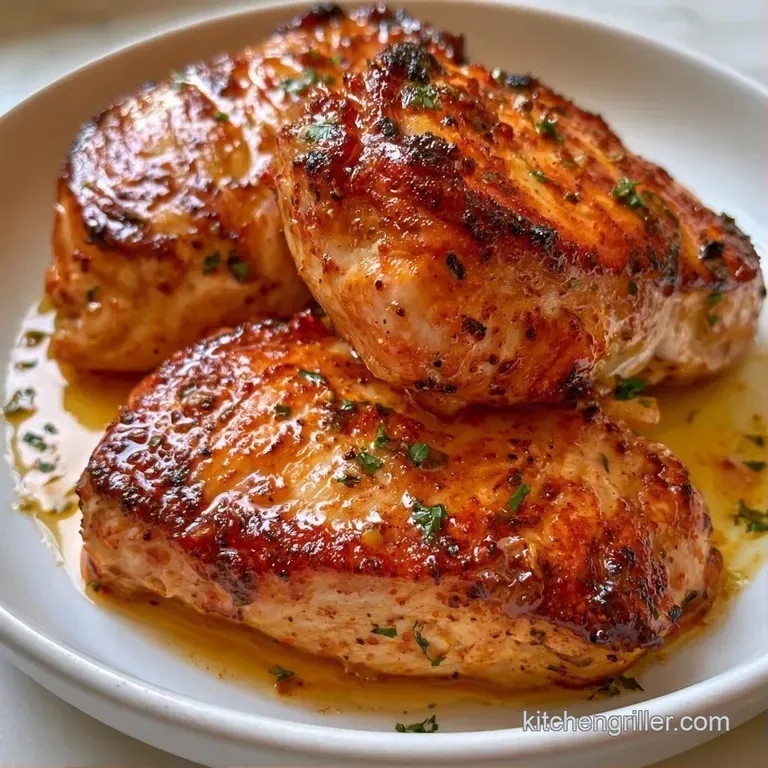
- Add the thighs to the skillet, pressing them down gently. Let them cook without moving for 5–7 minutes to develop a deep mahogany crust.
- Flip the meat. Cook for an additional 5–7 minutes until they hit 165°F (74°C) inside.
Phase 3: The Garlic Butter Finish
- Lower the heat to medium, then stir in the butter, smashed garlic, and thyme.
- Angle the skillet and continuously baste the chicken with the foaming butter for 1–2 minutes.
- Transfer the chicken to a plate and allow it to rest for 5 minutes before serving.
Fixing Common Issues
If the meat is sticking to the pan, don't panic. It usually means the crust hasn't fully formed. The chicken will naturally release itself once the sear is complete. If you force it, you'll leave the best part of the flavor stuck to the skillet.
For those who struggle with dry meat, check your thermometer. Even two minutes too long can change the texture of these Chicken Thighs Boneless. If you prefer a different texture, you might enjoy boneless skin on thighs for an even crispier exterior.
| Problem | Root Cause | Solution |
|---|---|---|
| Chicken sticks to pan | Flipped too early | Wait 60 seconds for the crust to release |
| Spices taste burnt | Heat too high | Lower heat slightly if smoke becomes thick |
| Meat is rubbery | Overcooked | Pull meat at exactly 165°F |
Adjusting the Batch
When you're cooking for more people, the biggest mistake is crowding the pan. If you put too many pieces of chicken in at once, the pan temperature drops, and you'll end up with steamed meat instead of seared Skillet Chicken Thighs.
If you need to double the recipe, work in two batches. For smaller portions, like a single serving, reduce the butter and garlic by half, but keep the oil the same to ensure the pan stays lubricated.
| Goal | What to change |
|---|---|
| More servings | Cook in batches |
| Lower fat | Reduce butter by half |
| Faster cook | Use thinner sliced thighs |
Truths About Searing
Searing meat does not "seal in juices." This is a common myth. Moisture loss happens throughout the cooking process regardless of the sear. The crust is actually about flavor, creating a complex taste through a chemical reaction on the surface.
Another misconception is that you need to "rest" meat to keep it juicy. While resting helps redistribute the internal juices, it doesn't stop the meat from drying out if it was overcooked in the first place.
Storage and Leftovers
Place the leftover chicken in a sealed container and keep it refrigerated for up to 4 days. To maintain the texture, avoid using a microwave for reheating. Instead, toss the pieces back into a pan over medium heat for 3 minutes to restore the crust.
Don't throw away the pan drippings. Those browned bits (fond) are flavor gold. Simply add a splash of white wine or water to the hot pan and scrape up the residue for a quick vegetable sauce.
Flavor Swaps and Twists
To change the vibe of this recipe, try different color accents. I love adding fresh chopped parsley (green) and sliced red chilies (red) right before serving. A squeeze of fresh lemon (yellow) adds a brightness that cuts through the butter.
For a zesty profile, add lemon zest to the dry rub. If you want something more global, swap the thyme for fresh cilantro and the paprika for cumin. These Skillet Chicken Thighs are a great base for any flavor profile.
You can also try a dairy-free version by replacing the butter with a vegan butter substitute or a bit more avocado oil, though you'll lose that specific nutty aroma. This recipe works well with Chicken Thighs Boneless regardless of the seasoning you choose.
Whether you're making these for a quiet Tuesday or a small gathering, the key is the heat. Get that pan hot, don't move the meat too soon, and let the butter do the heavy lifting at the end. It's a simple, urban approach to a classic protein.
Recipe FAQs
What timing is required for boneless chicken thighs in a skillet?
Cook each side for 5 to 7 minutes until the internal temperature hits 165°F.
Tip: Use a meat thermometer for precision.
Why is patting the meat dry necessary for a mahogany crust?
Removing surface moisture prevents steaming and allows the meat to sear properly.
Tip: Use paper towels to ensure the chicken is completely dry before seasoning.
Which sides pair best with this dish?
Serve these thighs with roasted root vegetables or a fresh garden salad.
Tip: For another savory skillet meal, try our cast iron smash burger.
Is it true that any cooking oil works for this sear?
That's a myth: use a heat stable oil, such as avocado oil, to keep the food from scorching.
Tip: Skip the butter for the first sear since it burns easily at high temperatures.
Do these thighs require a separate sauce?
Actually, no: Basting with butter, smashed garlic, and fresh thyme creates a rich, natural glaze.
Tip: Spoon the foaming butter over the meat continuously during the last two minutes.
How to skillet fry boneless, skinless chicken thighs?
Season with salt, pepper, garlic powder, and paprika, then sear over medium high heat.
Tip: Let the meat rest on a plate for 5 minutes before serving to lock in juices.
Skillet Chicken Thighs in 20 Minutes